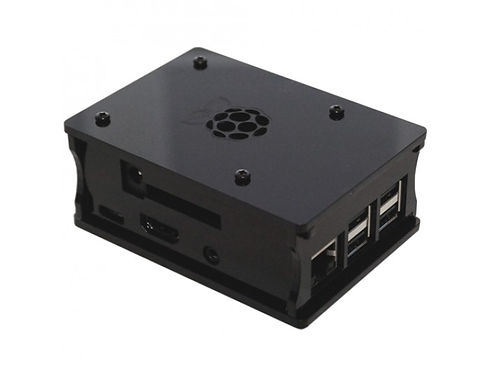
Sonic Amp
User Guide
You must have an operational Roon Server on your network in order for our products to work.
Ethernet Connection
Definitely the preferred method
-
Connect to your network using a quality Ethernet cable
-
Carefully remove the top of the Sonic Amp, and using quality speaker wire, attach your speakers to the terminals on the Sonic Amp. Replace the top.
-
Connect power by using the included micro USB DC power supply
-
Using Roon on your PC or Mac, or Roon Remote on your iOS or Android device, configure your new Roon Endpoint. You'll find it in the "Networked" section on the Audio tab of Settings, in Roon or Roon Remote.
WiFi Connection
-
You will need an HDMI monitor or TV, and a USB keyboard and mouse. Connect all three.
-
Connect power by using the included micro USB DC power supply
-
Turn on your display and configure WiFi on your Sonic device by clicking the "Network" icon in the upper-right corner of the screen.
-
Carefully remove the top of the Sonic Amp, and using quality speaker wire, attach your speakers to the terminals on the Sonic Amp. Replace the top.
-
Using Roon on your PC or Mac, or Roon Remote on your iOS or Android device, configure your new Roon Endpoint. You'll find it in the "Networked" section on the Audio tab of Settings, in Roon or Roon Remote.
Important Either Way
-
Please be reasonable in what kind of speakers you attempt to drive with your Sonic Amp. It outputs 25 watts per channel of clean power, and ideal for driving a pair of smaller, efficient 8 ohm speakers. It is not intended to drive anything big and if you're looking for room-shaking volumes, you should really be using our Sonic DAC or Bitstream with a bigger amp.
-
Please use only the power supply we include, and do <not> use the micro USB power input.